Studio photographs and work in progress

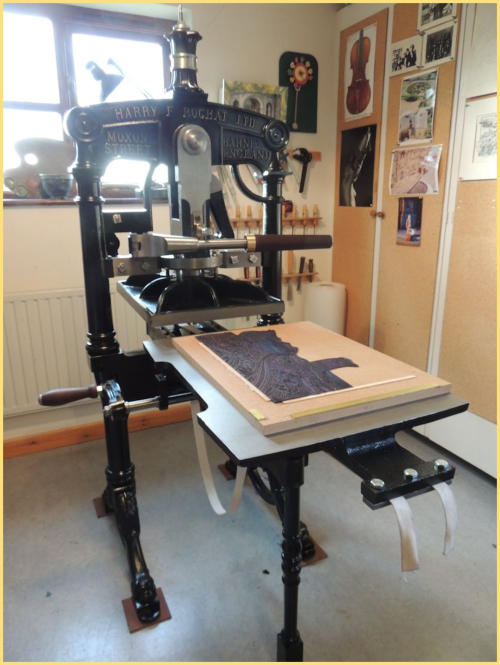
The Rochat Press 2013 new casting
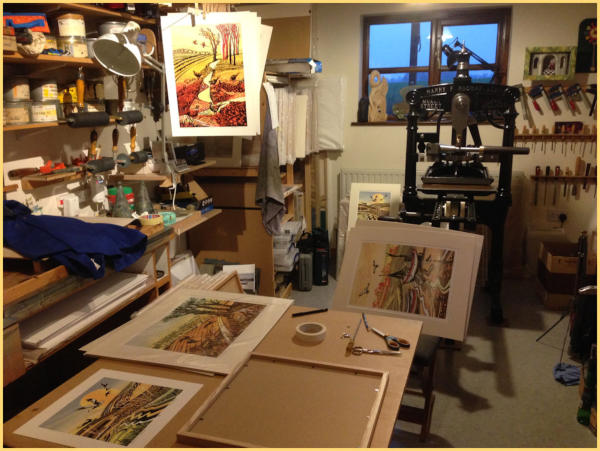
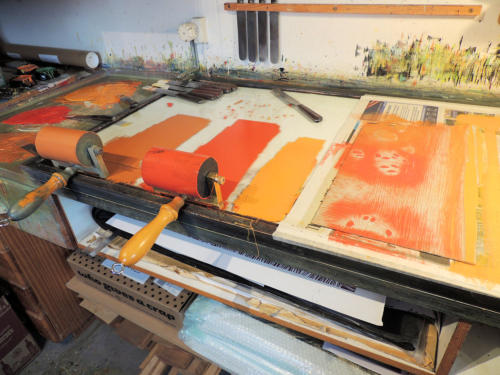
Studio
based on an 1854 Ullmer press
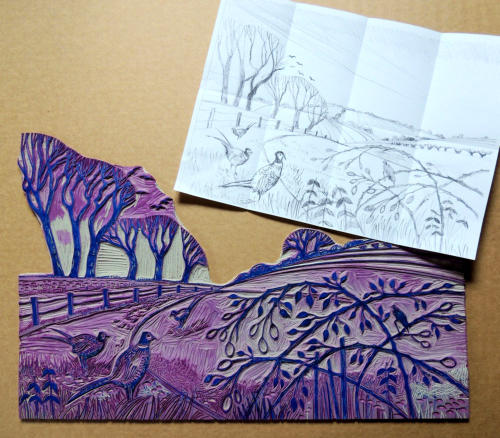
The preliminary drawing size is A4. As
can be seen, nothing is traced. The
sketch is reversed and redrawn on the
lino. This allows changes to be made.
This is the preliminary proof of the
Key block. It is taken to establish the
position of the design ready for the
colour block.
There are three lino blocks used. One of them is the Key Block (black) and the another is the Reduction Block used
several times, cutting away more and more lino. The remaining block has bits of colour such as the rose hips.
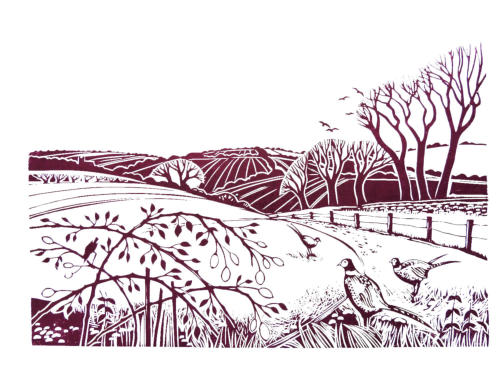
A finished print is a combination of layers of ink and is in an edition of 50 prints. In this example case, there are six layers
of ink comprising blended colours. The images below are from the linocut ‘Sunset Phesants’ (Click to enlarge)
Stages in printing a linocut
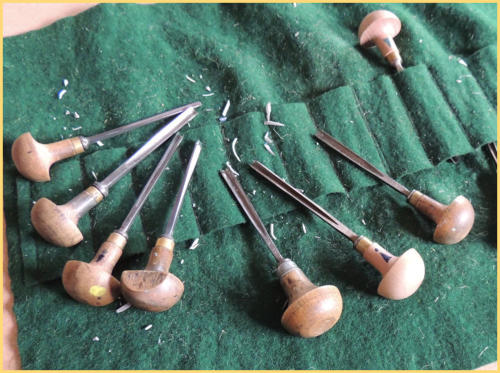
Lino cutting tools
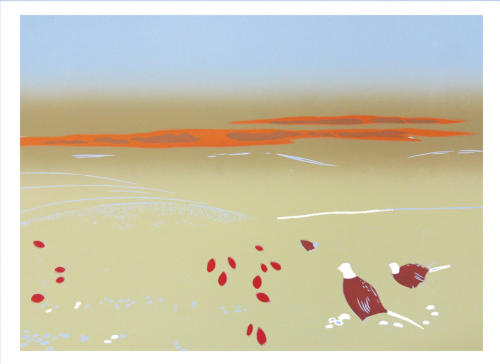
Colours are blended for the first printing. This
comprises the sunset cloud, the rose hips and
the pheasant colouring.
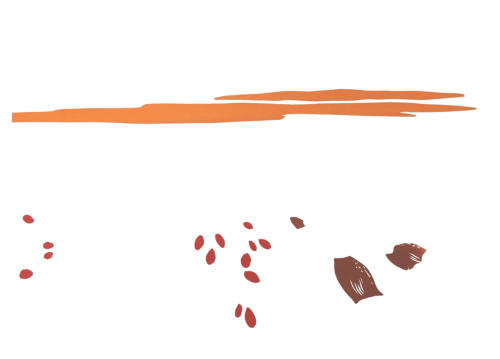
First colour printing. This is a colour block, one
of two which have had the black block image offset
to create a ghost image of the final black on the
surface. The first printing has to be done on
the entire edition as this printing block will be cut
again and again.
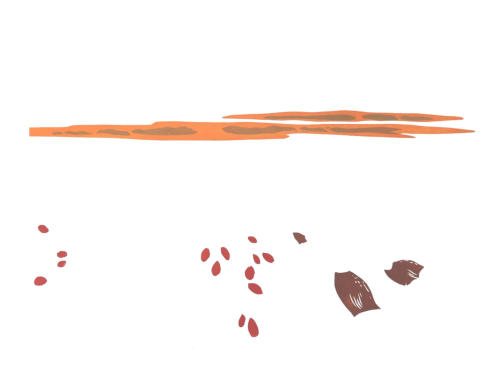
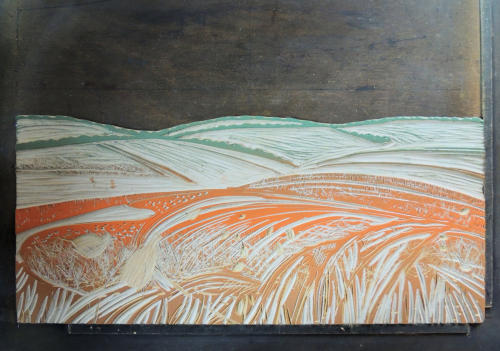
Second printing. A colour block has been
further cut and the extra clouds added.
Third printing. This is the first full colour
graduation from main colour block.
This Reduction block will be cut again for
more colourand detail to be added.

This lino block is shown inked and ready to
print the colours shown in the image to the
right.
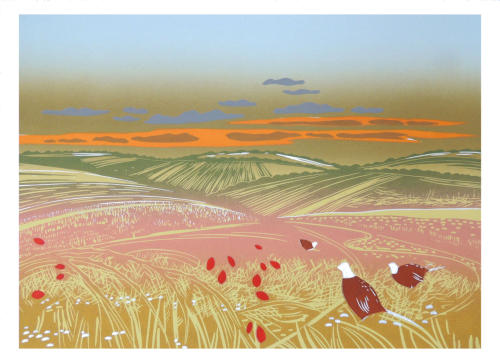
Fourth printing. This has the main detail of
the foreground and the distant fields.
This is the final ‘reduced’ colour block and most
of the lino has gone. What is left will darken
the distant hedges and add colour to the
foreground.

This is the fifth printing from the Reduction
Block. All that remains now is to add the
black from the Key Block.
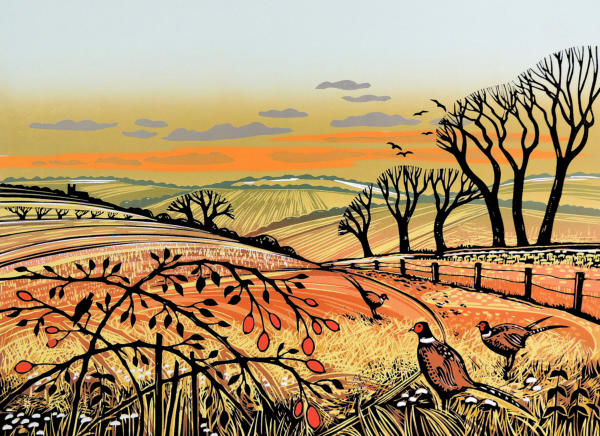
Sunset Pheasants. Sixth and final black printing.